WordPress Changes Not Showing After Clearing Cache? Check Every Cache Layer
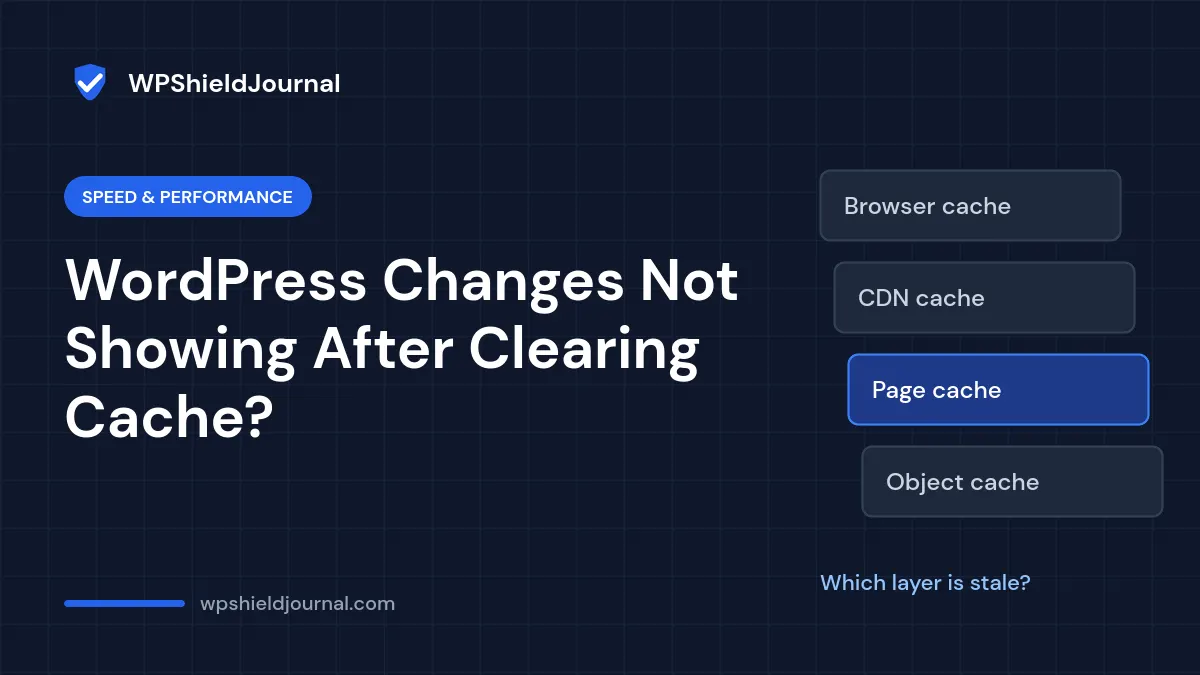
WordPress changes not showing even after you cleared the cache? You edited a page, clicked Update, cleared “the cache”, and the old version is still there. This is one of the most common WordPress frustrations, and it is almost never a mystery: a modern WordPress site usually has three or four separate caches, and clearing one of them does not clear the others.
This guide shows you how to find out which layer is serving the old copy, instead of clearing everything and hoping.
Quick answer: open the page in a private window. If the change is missing, check the response headers to see which cache answered (for example x-litespeed-cache: hit or a CDN header), then purge that layer: your caching plugin first, then your CDN. If CSS or design changes are missing, also purge the plugin’s optimized CSS/JS files. If nothing works, the change may not be on the live site at all.
Why are WordPress changes not showing after clearing the cache?
Each cache layer keeps its own copy of your pages or files. When you press a “clear cache” button, you usually clear only one layer. The others keep serving the old copy until they expire or are purged separately.
| Cache layer | Where it lives | What it stores | How to clear it |
|---|---|---|---|
| Browser cache | The visitor’s browser | Pages, CSS, JavaScript and images | Hard refresh or a private window |
| Page cache | Your server, managed by a caching plugin such as LiteSpeed Cache, WP Rocket or W3 Total Cache | Complete HTML pages | The plugin’s Purge / Clear button |
| Optimized CSS/JS files | Your server, created by the caching or optimization plugin | Minified and combined stylesheets and scripts | The plugin’s CSS/JS purge option |
| CDN cache | Edge servers run by your host’s CDN, Cloudflare or another provider | Pages and static files near the visitor | The CDN’s purge or flush option |
| Object cache | Redis or Memcached on the server | Database query results and settings | The object-cache plugin or your host |
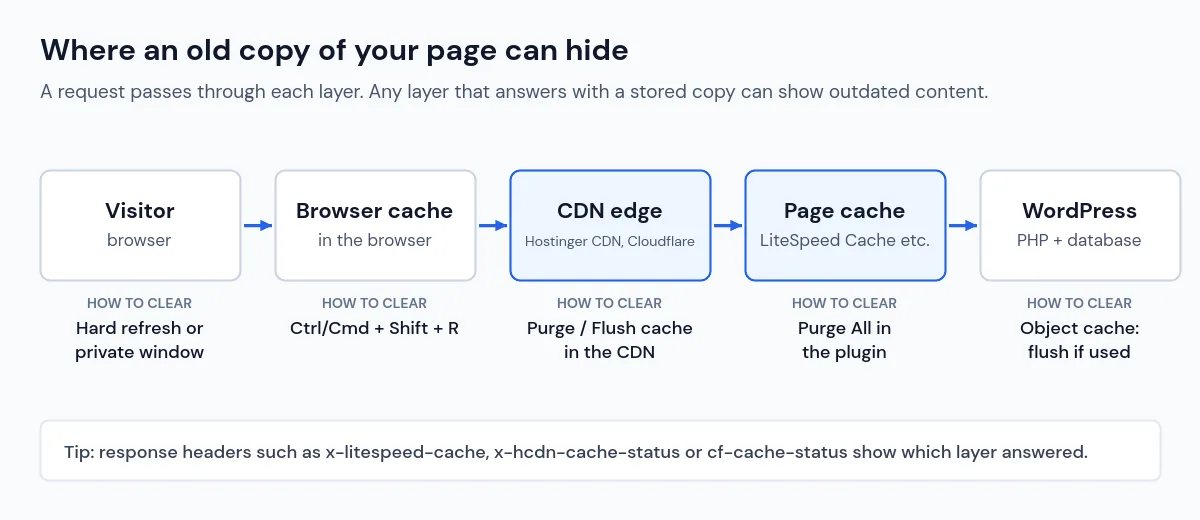
Logged-in administrators usually bypass the page cache, which is why you often see your change while visitors (or you in another browser) do not.
Before you start
- Access to your WordPress dashboard.
- Access to your hosting control panel, and to your CDN dashboard if you use one.
- A browser with developer tools (Chrome, Edge, Firefox or Safari).
Step 1: Confirm the change was really saved
Open the page or post in the editor again and check that your change is there. If you edited a template, a reusable block, a widget or a theme setting, open that exact item again. Also check that you edited the correct page: duplicate pages with similar titles (for example /pricing/ and /pricing-2/) are a common source of confusion.
Step 2: Test as a visitor, not as an admin
Open the page in a private (incognito) window, where you are logged out and the browser cache is empty. If the change appears there, the problem is only your browser cache: force a full reload in your normal window and you are done: Ctrl + Shift + R on Windows, or Cmd + Shift + R in Chrome and Firefox on a Mac (in Safari, use Cmd + Option + R).
If the private window still shows the old version, a server-side or CDN cache is serving it. Continue to Step 3.
Step 3: Read the response headers to find the stale layer
Caches usually announce themselves in the HTTP response headers. In Chrome, open the page, press F12, open the Network tab, reload, click the first request (the page itself) and look at Response Headers. You can also check from a terminal:
curl -sI https://example.com/your-page/Here are the cache headers returned by a page on our own Hostinger site, which runs LiteSpeed Cache behind Hostinger’s CDN:
server: hcdn
x-hcdn-cache-status: HIT
x-litespeed-cache: hit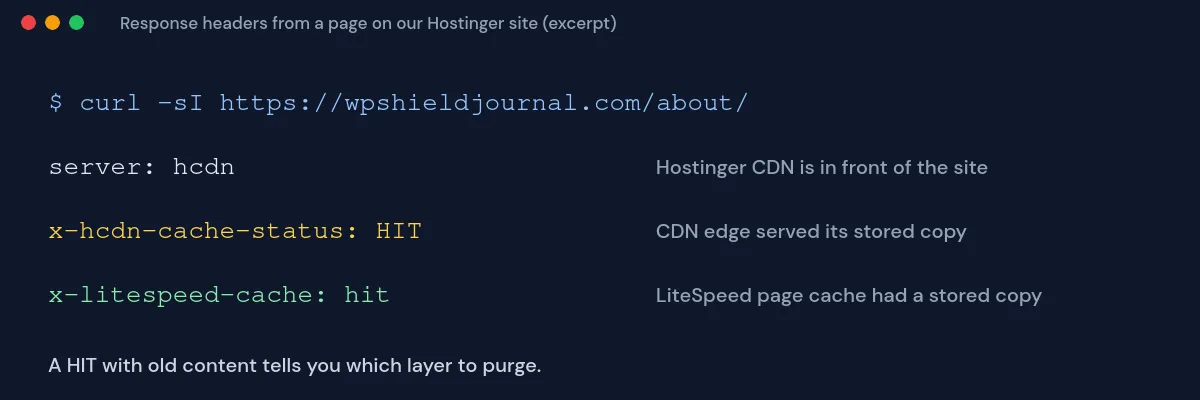
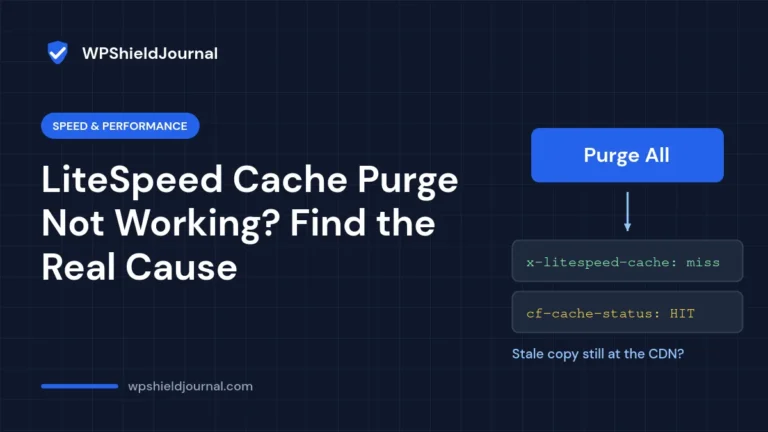
Two different caches answered this one request. x-litespeed-cache: hit means the LiteSpeed page cache on the server had a stored copy, and x-hcdn-cache-status: HIT means Hostinger’s CDN edge served its own stored copy. Other common headers include cf-cache-status (Cloudflare), x-cache (many CDNs and Varnish) and age (how many seconds a cached copy has existed).
- A HIT means that layer served a stored copy. If the content is old, that layer is your suspect.
- A MISS means the layer fetched a fresh copy from the next layer down.
- No cache header at all usually means that layer is not involved.
Step 4: Purge the page cache
Clear your caching plugin’s page cache. In LiteSpeed Cache, hover over the LiteSpeed icon in the top admin bar and choose Purge All, or go to LiteSpeed Cache → Toolbox → Purge. Other plugins have an equivalent button, usually in the admin bar or the plugin’s settings.
Reload the page in a private window. If the header now shows a miss followed by your new content, you have found the problem.
Step 5: Purge the CDN
If the CDN header still shows a HIT with old content, purge the CDN:
- Hostinger CDN: in hPanel, go to Websites, click Dashboard next to your site, open Performance → CDN and click Flush cache. Hostinger notes that this clears the CDN cache for the whole website.
- Cloudflare: in the Cloudflare dashboard, open your domain’s caching settings and purge either everything or the specific URL you changed.
- Other CDNs: look for Purge, Flush or Invalidate in the CDN dashboard.
What we found on Hostinger: on our own site we inspected the Hostinger Tools plugin (version 3.0.79). Its code clears the Hostinger CDN after LiteSpeed’s Purge All action, limited to once every 10 seconds. It does not hook into LiteSpeed’s automatic per-page purges. So if one updated page keeps looking old to visitors on a Hostinger site, a Purge All in LiteSpeed (while the Hostinger Tools plugin is active), or Flush cache in hPanel, clears both layers. This behaviour can change in future plugin versions.
Step 6: If design or CSS changes are missing
Caching and optimization plugins often minify and combine CSS and JavaScript into new files. If you changed CSS (for example in Appearance → Customize → Additional CSS, or a theme option) and the design does not change, purge those generated files as well. In LiteSpeed Cache, the Purge page has separate options for CSS/JS. Then do a hard refresh, because browsers also cache stylesheets.
If you edited a theme’s CSS file directly, make sure you edited the file that is actually loaded: changes to a parent theme are overwritten by theme updates, and many themes load a minified copy rather than the file you edited.
Step 7: Settings changes and object caching
If a change to a setting (rather than page content) does not take effect, an object cache such as Redis or Memcached may be holding the old value. Flush it from the object-cache plugin’s screen or your hosting panel. Many shared hosting plans do not use a persistent object cache, so skip this step if you have not set one up.
Still not showing? It may not be a cache problem
- You edited a staging site. Check the address bar: staging copies often use a subdomain or a temporary domain.
- The domain points somewhere else. After a migration, DNS can still point to the old host for a while. Compare the IP address your domain resolves to with the one your host gives you.
- A different template controls the page. Theme builders, hooked elements and block templates can override what you see in the page editor.
- The save failed. A security rule or a full disk can block saves. Look for an error notice in the editor and check the browser console for failed requests.
How to prevent this in future
- Use only one page-cache plugin. Two plugins caching the same pages create conflicting copies.
- Keep your caching plugin’s automatic purge rules enabled so updated posts, their categories and the homepage are purged when you publish.
- After design changes, menu edits or plugin updates, run a full purge and then check the page in a private window.
- Learn which headers your own stack returns. Knowing what a normal HIT and MISS look like on your site makes the next problem much faster to diagnose.
Related guides
If you use LiteSpeed Cache and a purge seems to do nothing, see LiteSpeed Cache purge not working. For more on page speed and caching, browse our Speed & Performance guides. If the site shows an error rather than old content, see Errors & Fixes.
References
- Hostinger CDN: How to clear the cache (Hostinger Help Center)
- LiteSpeed Cache plugin (WordPress.org)
- Cache-Control header (MDN Web Docs)
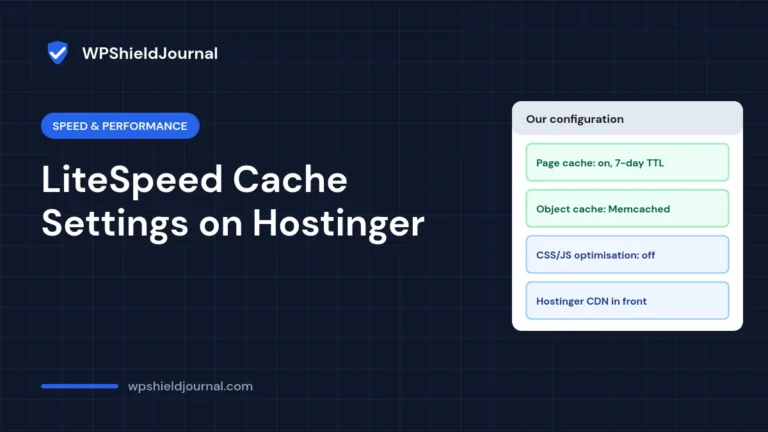
For a working example of the cache layers on a Hostinger site, see the LiteSpeed Cache settings this site uses.
Conclusion
If you find WordPress changes not showing after an update, work from the outside in: browser, page cache, CDN, then optimized files and the object cache. Reading the response headers tells you which layer served the old copy, so you can clear the right one instead of guessing.