LiteSpeed Cache Settings on Hostinger: What This Site Uses and Why
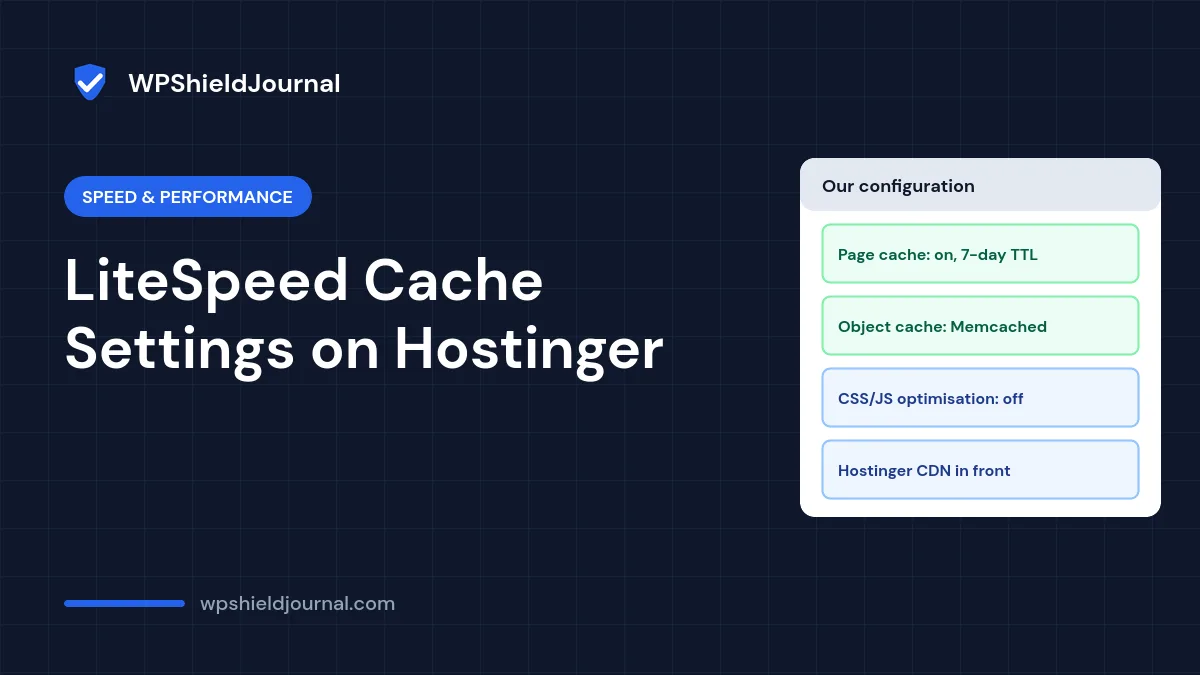
Most LiteSpeed Cache settings guides list every option in the plugin and switch on as many as possible. On Hostinger that approach often causes more trouble than speed: broken layouts from combined CSS, stale pages from overlapping caches, and confusion about what to purge. This guide shows the configuration this site actually runs on Hostinger, why each setting is on or off, and what we checked to confirm it works.
Quick answer: Turn on page caching and keep the default purge rules that clear the home page and archives when you publish. Enable the object cache only if your plan provides Memcached or Redis and LiteSpeed Cache shows it connected. Leave CSS and JavaScript minify and combine off unless you have measured a real gain and tested every template. Remember that Hostinger’s CDN may sit in front of LiteSpeed and has its own cache.
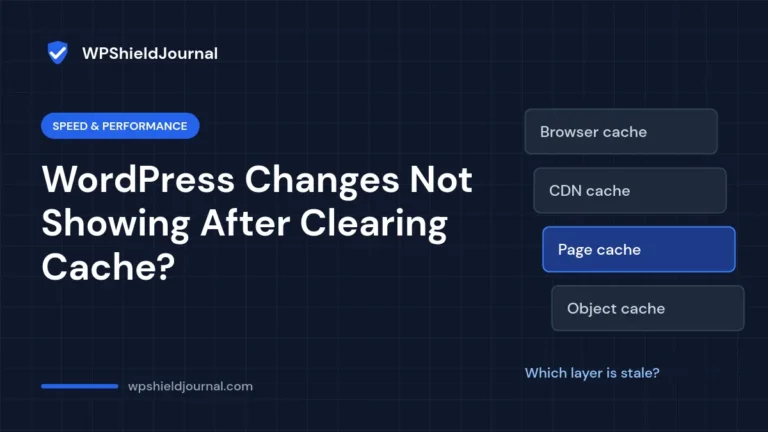
The cache layers on a Hostinger WordPress site
Before touching settings, know what is in the path. On this site, response headers show the Hostinger CDN (server: hcdn and x-hcdn-cache-status) in front of the LiteSpeed server cache (x-litespeed-cache), with WordPress and a Memcached object cache behind them:
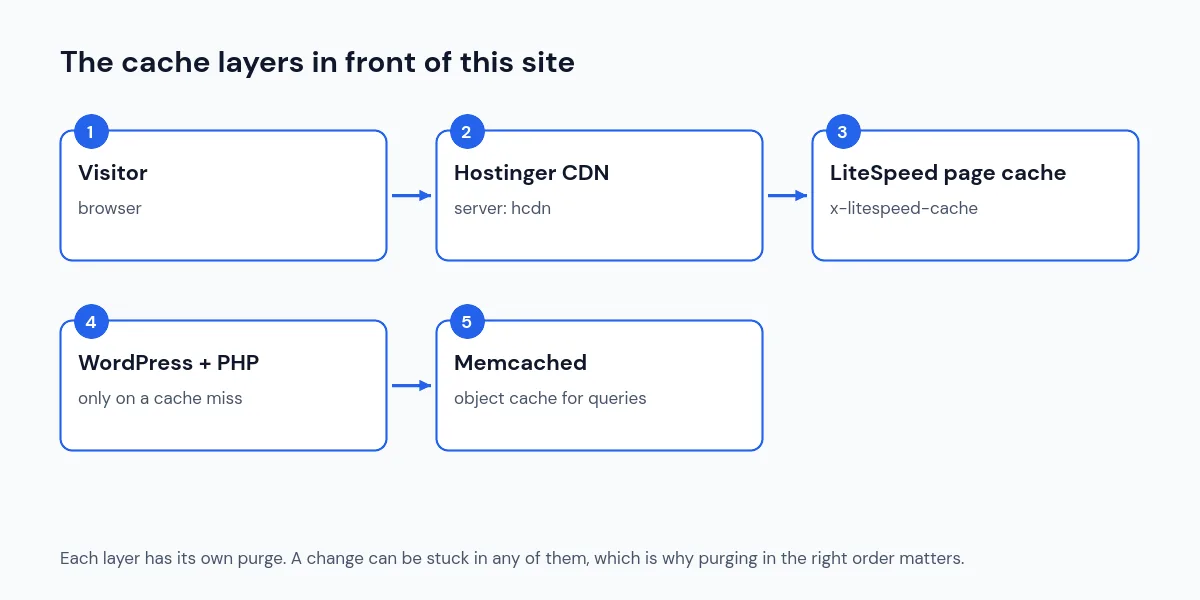
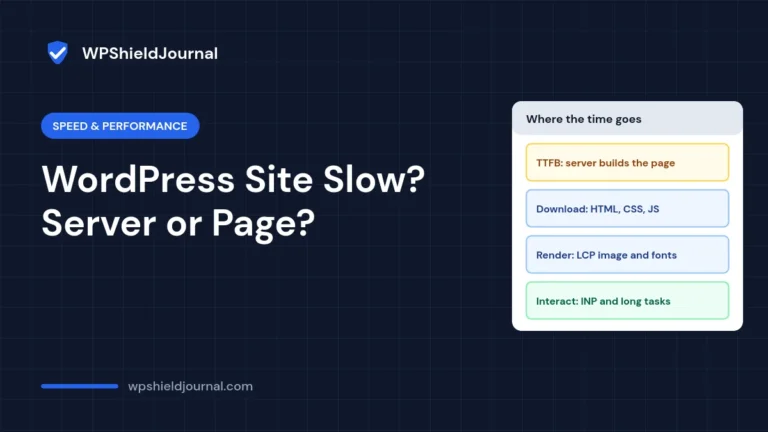
When a cached page is served, PHP does not run at all. Measured from the server itself, our cached home page came back in about 10 ms compared with roughly 180 to 270 ms when WordPress had to build it, as described in our slow site guide.
The LiteSpeed Cache settings we use
Page cache: on, with long TTLs
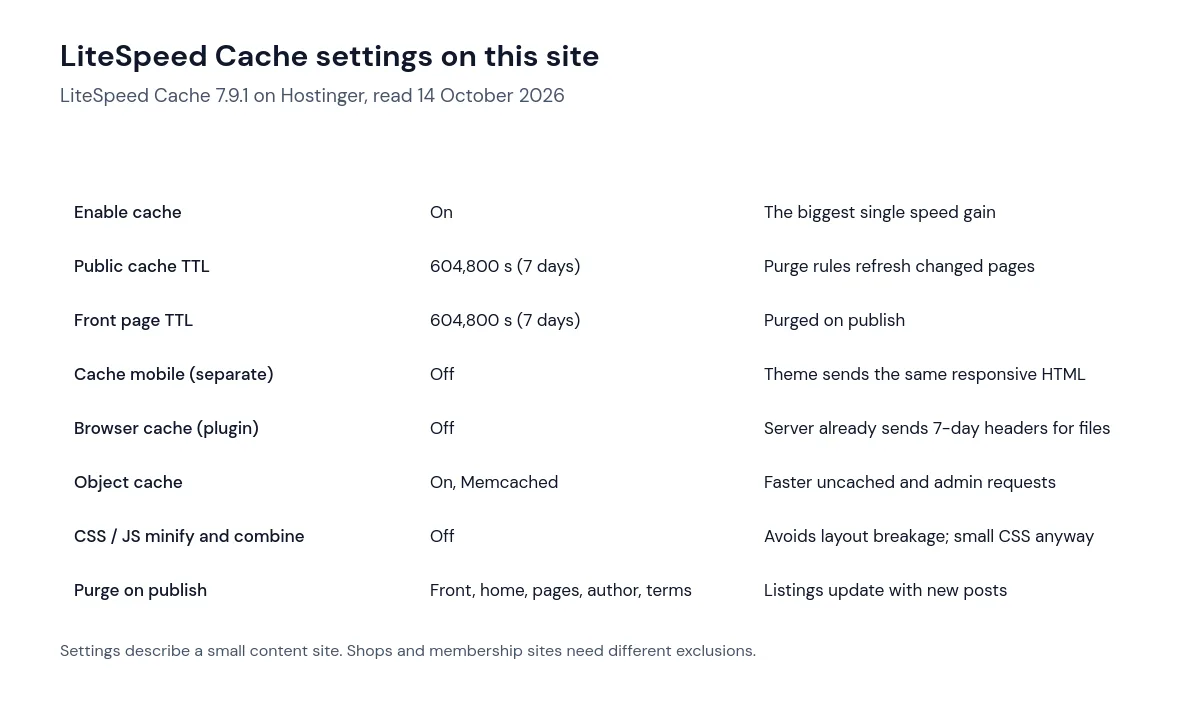
The page cache does the heavy lifting. A long time-to-live (TTL) is safe because LiteSpeed Cache purges affected pages automatically when you publish or update content. On this site the purge rules clear the front page, home page, pages, author archives and term archives on publish, so new posts appear in listings straight away.
Separate mobile cache: off
The mobile cache option stores a different copy of each page for phones. It is only needed if your theme sends different HTML to mobile devices. Our theme sends the same responsive HTML to everyone and adapts with CSS, so a separate mobile cache would only double the cache size.
Object cache: on, because Memcached is available
The object cache stores the results of database queries in memory, which speeds up uncached pages and the dashboard. We confirmed it is working on this site: WordPress reports an external object cache in use, the LiteSpeed Cache drop-in (wp-content/object-cache.php) is installed, and a value stored in one request was still available in the next. If your plan does not include Memcached or Redis, leave this off; an object cache that cannot connect adds overhead.
Browser cache option: off
The plugin’s browser cache setting adds long cache headers to static files. Our server already sends cache-control: public, max-age=604800 (seven days) for CSS and images, which we checked in the response headers, so the plugin option would duplicate it.
CSS and JavaScript optimisation: off
Minifying and combining CSS and JavaScript can save a few kilobytes, but it is the most common cause of broken layouts and scripts after enabling LiteSpeed Cache. Our pages load a handful of stylesheets and very little JavaScript, so the potential gain was small. If you try these options, change one at a time, test every template while logged out, and keep a note so you can undo it.
Never run two page caching plugins at the same time. On a LiteSpeed server, LiteSpeed Cache is the natural choice; another caching plugin on top leads to stale pages and purge problems.
Purging: the part that confuses everyone
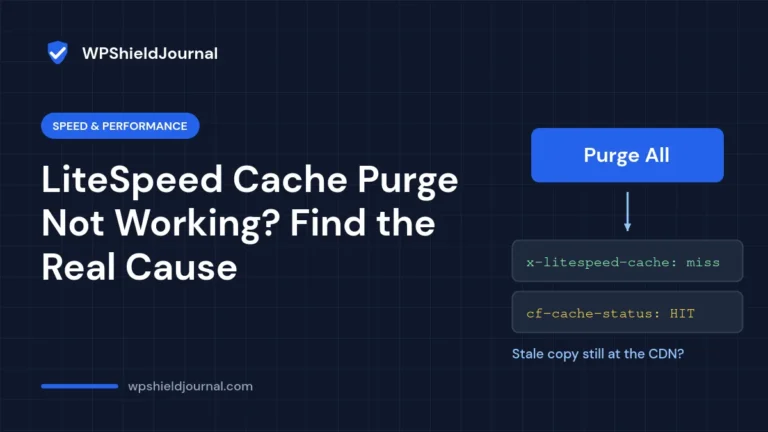
Because there are several layers, “I purged the cache” can mean different things. Hostinger’s own Tools plugin (version 3.0.79, which we inspected) purges the CDN when LiteSpeed Cache’s Purge All runs, but only while that plugin is active. Without it, flush the CDN yourself with Flush cache under Performance → CDN in hPanel. A purge of a single page in LiteSpeed Cache may not clear the CDN copy. If a change does not appear, use Purge All, then check the response headers. Our guides to changes not showing after clearing cache and LiteSpeed Cache purge problems go through each layer.
What to change for other kinds of sites
- Online shops: cart, checkout and account pages must never be cached for everyone. WooCommerce sets the right signals, but test the full purchase flow logged out after any change.
- Membership and course sites: decide how logged-in users are cached, and test with real member accounts.
- Sites with many pages and low traffic: the LiteSpeed crawler can warm the cache, but it uses server resources; check your hosting limits first.
How to check your own settings work
- Open a page in a private window, then open DevTools → Network and click the page request.
- Reload. The
x-litespeed-cacheheader should change frommisstohit. - Publish a test post and confirm it appears on the home page without a manual purge.
- Run PageSpeed Insights before and after any optimisation change, and keep the results.
Frequently asked questions
Should I enable QUIC.cloud on Hostinger?
It is optional. Many Hostinger sites already have Hostinger’s CDN in front of them, as this one does. Adding another CDN layer means another cache to purge, so only add it for a feature you specifically need.
Why are my changes visible when logged in but not logged out?
Logged-in users often bypass or use a separate private cache, so they see the newest version while visitors get the public cached page. Purge the public cache and the CDN.
Do I need the image optimisation features?
Only if your images are not already optimised. We upload featured images as compressed WebP files, so we leave LiteSpeed’s image optimisation off.
Summary
Good LiteSpeed Cache settings on Hostinger are mostly about restraint: page cache on with sensible purge rules, object cache only when Memcached or Redis is really connected, and CSS and JavaScript optimisation off unless measured and tested. Know which layers sit in front of your site, purge them in the right order, and confirm with response headers rather than assumptions.